With the Stripe payment plugin, the visitor can pay instantly the booking on one of the most secure and advanced payment platforms. The whole process looks perfectly integrated into the Joomla web site and at the same time all is full PCI compliant, no sensitive payment information is touching the Joomla web server.
Stripe also supports strong user authentication (SCA). After submitting the credit card information an additional step needs to be done to authenticate against the bank to protect from fraud. This function is called 3d secure and is fully supported in DPCalendar.
The DPCalendar Stripe integration does support two types of payment forms. One is an integrated credit card form and the other renders all configured payment methods of the Stripe account through an integrated element.
The credit card integration works the way that it displays a form within the Joomla web site when the attendee clicks on the "Confirm booking and pay" button in the booking form. She/he must then enter the credit card details and after the send button is clicked an ajax request is done to the Stripe server for further validation. After the payment is done, the visitor will be redirected to the DPCalendar "Thank you" page.

The embedded integration works the way that it displays all configured Stripe payment methods within the Joomla web site when the attendee clicks on the "Confirm booking and pay" button in the booking form. After the choosen method is selected, the attendee gets redirected to the Stripe server for further payment processing. After the payment is done, the visitor will be redirected to the DPCalendar "Thank you" page.

The DPCalendar Stripe plugin allows to add unlimited Stripe accounts to DPCalendar. When the plugin is opened in the back end, then the admin is able can click on the "+" button to add a new configuration. There can the following fields be filled:
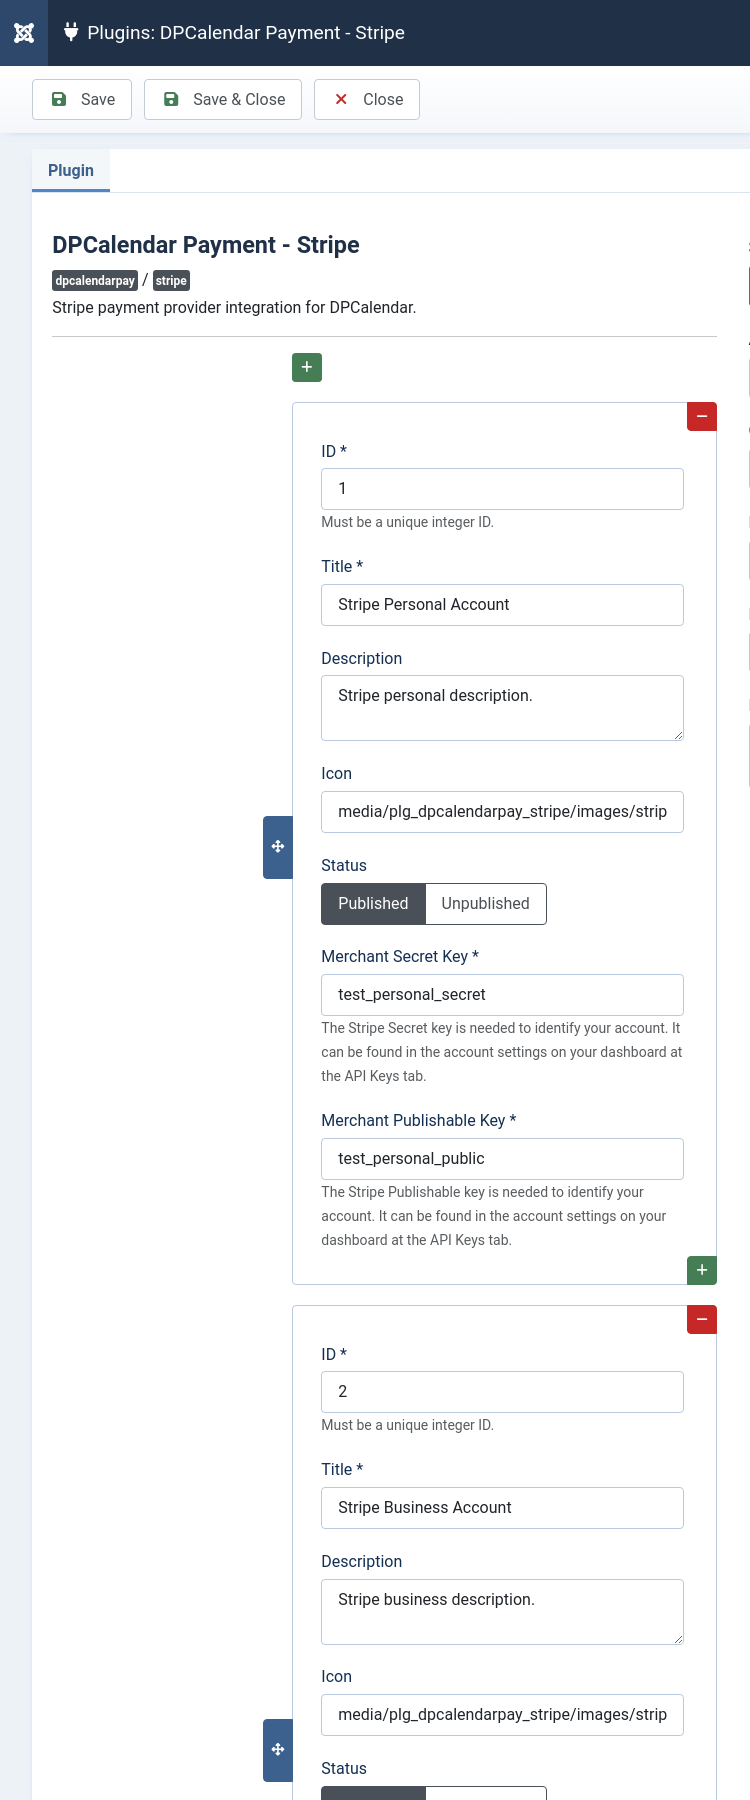
After a Stripe account is created, you need to log in on stripe.com. Click on the sidebar on "Developers" -> "API Keys" and copy the Publishable key and the Secret key to the plugin settings.
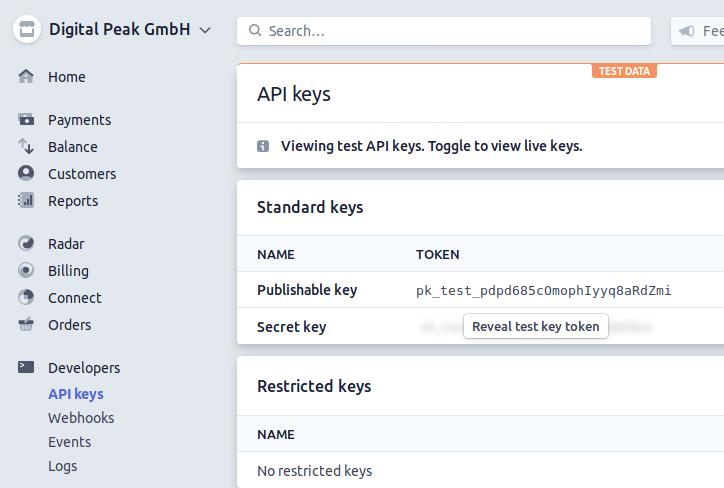
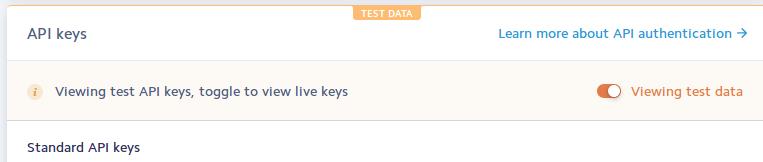
To use Stripe in testing mode, you have to change it into testing mode by toggle the switcher to "Viewing test data". Then copy the Test keys to the plugin instead of the Live ones. To test different scenarios, use the testing credit card numbers from this page stripe.com/docs/testing.
Basically you can use the card number 4242 4242 4242 4242 for none authenticated payments and 4000 0027 6000 3184 for strong authentication to test 3D Secure. As month and year just put anything in the future and as CVC any numbers you want.
Comments (0)