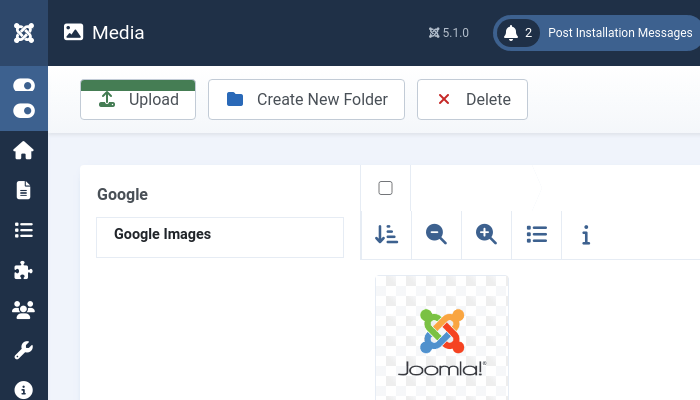
The Google Drive plugin integrates media data from your Google Drive storage into the Joomla core media manager. It allows the admin to select images in articles and any other extension which uses the core media manager. Beside that it is possible to create folders, upload images, rename and delete the data directly from within Joomla on your Google Drive storage. It's possible to add unlimited different Google accounts in the plugin.
The ONLY way to make your Google Drive media data accessible in the media manager is to import them, because the Google API requires a refresh token which is obtained during the import process. To whole import process is described below.
Please read the Concept of image service provider integration article to get more information how to get started with the image service provider plugins from DPMedia.
To be able to import your Google Drive data you need a client ID and client secret from the Google developer console. This credentials are used to make authenticated requests against the Google API endpoint. It is OAuth authentication and allows you to revoke the credentials at any time without exposing your private username and password.
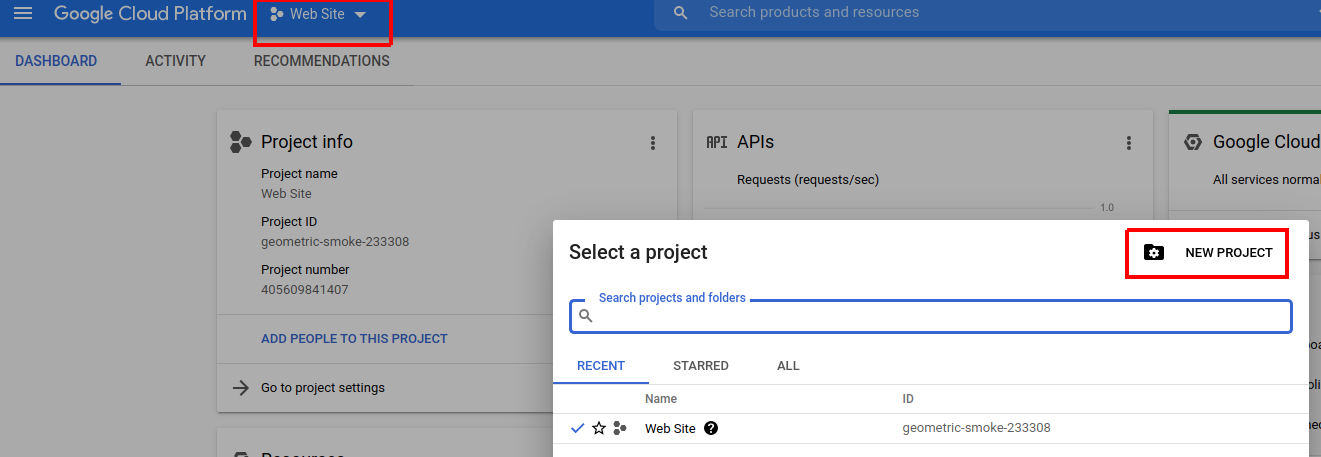
Log in on the Google developer console. In the topbar click on the projects drop down. A modal opens where you can select an old project or create a new one. If you create a new one give it a name and hit save. It can take a while till Google has created the project. After it is created, open the project. This is needed as the following steps are done per project.
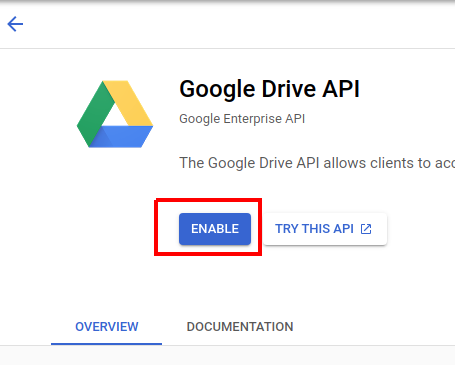
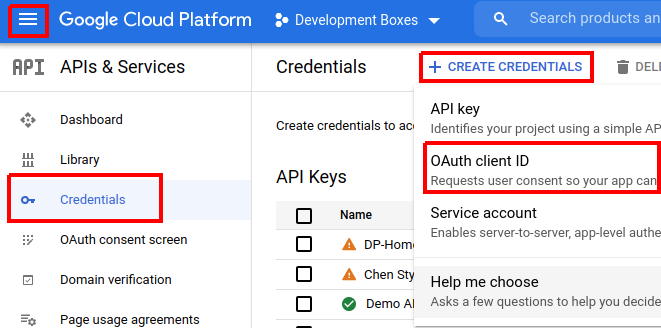
Open the sidebar by clicking on the hamburger icon in the top left corner of the page and click on "API & Services" link. Then click on "+ Enable API and services". Search for the "Google Drive" API and click on it.

Click on the enable button in the API details screen. This means that the Google Drive API is activated for the project we created before. The DPMedia Google plugin is using the Drive API to fetch the images from your Google Drive storage.
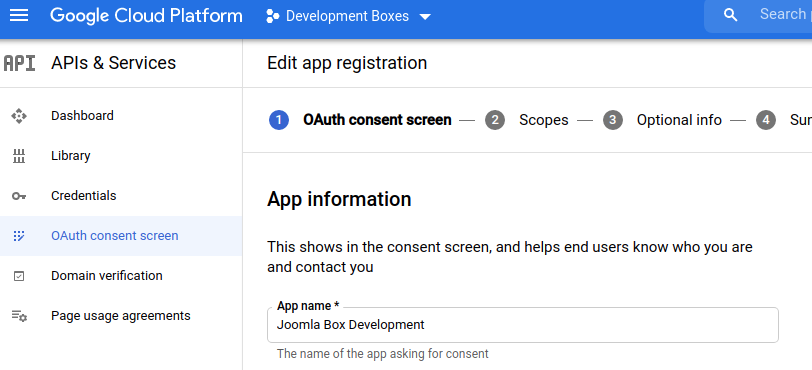
If you haven't set the consent screen on the API project, then Google tells you to do that. After you have selected the E-Mail address you have to define a Product name and the click on Save. It is recommended that the Product name is the same name as your Project name. Google will forward you back to the screen where you have to create the new Client ID.
Click on the credentials tab. Click now on the "+ Create credentials" button and then on the OAuth client ID list item. Now you are going to create the actual credentials with the client ID and client secret which will be used then later for the import.
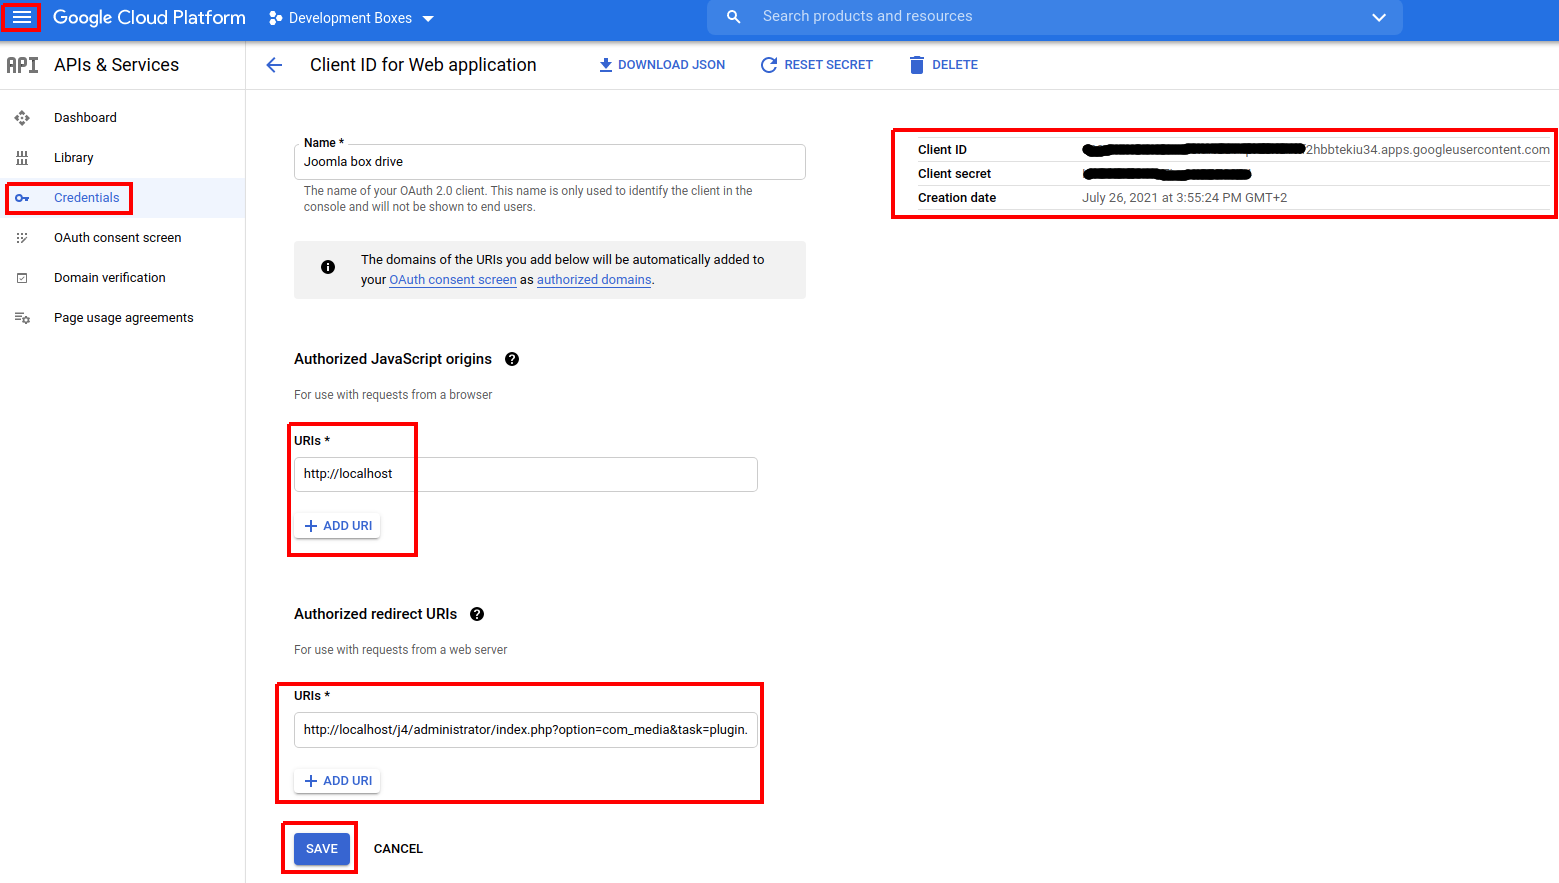
You have to select Web application and put into the authorized Javascript origins from your web site url. In the Authorized Redirect Uri field you have to put an url with the following parameters:
https://www.example.com/administrator/index.php?option=com_media&task=plugin.oauthcallback&plugin=dpgoogle
Replace example.com with your web site url! You will find the correct url also later in the import modal dialog in Joomla. This url is important, if it is wrong you can't import your account, you will get a redirect_uri_mismatch error! Yo need also to use HTTPS as scheme as HTTP is not supported.
Here you get access to the client ID and secret which will be later used during the import process.
After you have setup the credentials in the Google developer console it's time to import it into Joomla.
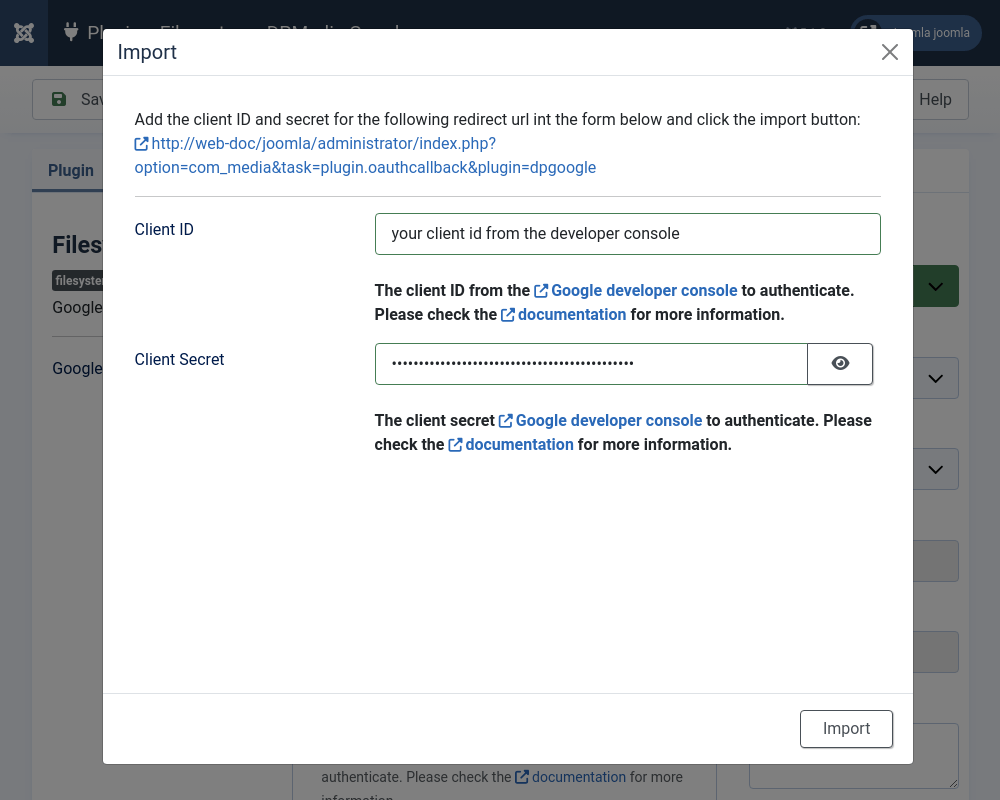
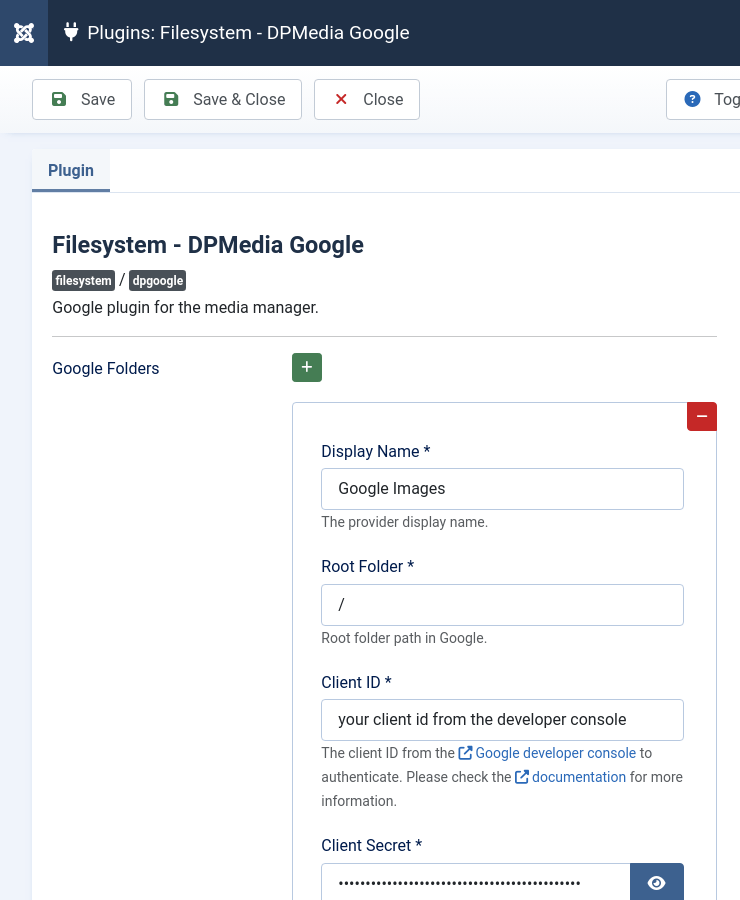
Open the filesystem Google plugin in the plugin manager in the back end of your Joomla site. Click on the green "+" button in the plugin edit form. A modal dialog will open with instructions. Additionally you will get here the correct url for the Authorized redirect origin.
Copy paste the client ID and client secret from the Google developer console to the dialog. Make sure you are logged in with the Google account you want to import, otherwise you will get an error like "Could not json decode the token"!
The client ID is often a string which ends with ".apps.googleusercontent.com" while the secret is a string with random characters.
On the top of the dialog you will see a link with the url which must be used as "Authorized redirect URI" in the Google developer console. If this doesn't match, Google will throw a warning.
Click the "Import" button. You will then get redirected to Google. Accept the permission questions from Google. If you get a message, that the app isn't verified, then click on the "Show advanced" link and then on the "Go to sitename" link. It will forward you to the permissions page.
You should see now the imported account with your client ID and secret. Additionally should the refresh token field be filled. This key is needed to authenticate against Google when doing the API requests. If this isn't the case, then something went wrong along the line and you should start the process again.
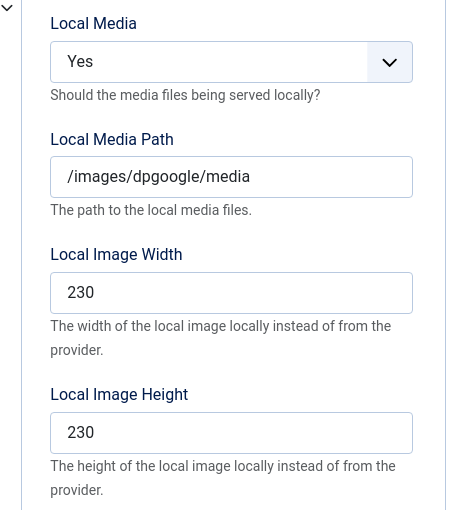
Per imported account the admin can define that media files should be served locally. This helps to ensure that the site is compliant with the sites privacy policy and that the visitors are only fetching media data from the web site.
If activated, then the files are copied from Google Drive to the local filesystem on a path the site admin can define. This happens when a media file is selected in an article or everywhere else from a media field. During the media list fetch, the files and thumbs are not stored locally. Each file will be saved with the last modification timestamp to ensure that the updates are immediately reflected locally.
If the file is an image it is also possible to define a custom width and height, so the drive of the Joomla site will not fill up quickly.
The plugin supports automatic resize when images are uploaded. The images are only scaled down, but not up. The admin can choose between the following four options when resizing should be applied:
When only a width or height is set, then a resize is performed and the aspect ratio is kept. Like that will all images have the same width or height. When both dimensions are set, then an option is shown which lets you define if the aspect ratio should be kept or not. If it is not kept, then each image has the same dimensions but the smaller side gets cropped. Here are some examples listed for a better understanding:
| Image dimensions | Force width | Force Height | Keep aspect ratio | Resized image dimensions | Crop |
|---|---|---|---|---|---|
| 2000 x 3000 | 0 | 400 | 267 x 400 | No | |
| 2000 x 3000 | 400 | 0 | 400 x 750 | No | |
| 2000 x 3000 | 400 | 100 | No | 400 x 100 | Height is cropped from 750 to 100 |
| 2000 x 3000 | 400 | 100 | Yes | 67 x 100 | No |
| 2000 x 3000 | 100 | 400 | No | 100 x 400 | Width is cropped from 267 to 100 |
| 2000 x 3000 | 100 | 400 | Yes | 267 x 400 | No |
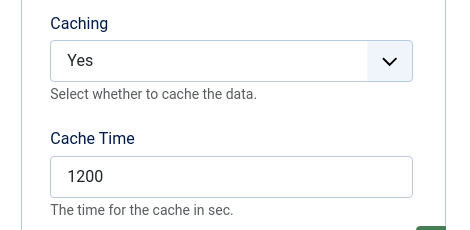
Per imported account the site administrator can define caching so images will be loaded much faster in the media manager. DPMedia uses the core Joomla cache, so it can be revoked at any time in the core Maintenance Manager. Additionally the admin can define a cache time so images will downloaded after a certain time automatically again from Google Drive.
Comments (0)